One question that we receive a fair bit recently from customers is how to best paint the blades on our oars and sculls. There are a wealth of different techniques and philosophies out there, but we wanted to share with you what we believe to be the best method.
Painting the blades can take a bit of time and is a bit of a process (don’t worry the results will be worth it), so you want to first make sure that you have all the materials you need prepared beforehand.
Materials needed:
Acetone
80 – 100 grit sandpaper
400 grit sandpaper
Epoxy Primer Spray Paint
Urethane Spray Paint
Clear Coat Urethane Spray Paint (optional)
Priming and Painting Blades:
Step 1: Clean blades with Acetone to remove clear coat.
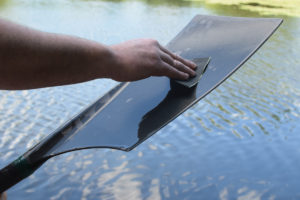
Step 2: Sand with 80 – 100 grit sandpaper until all the shine is gone, rinse and let dry. This step is key and it is very important to make sure the surface is adequately prepared.
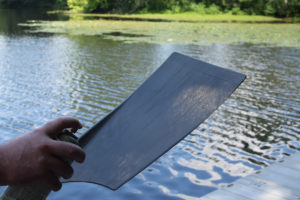
Step 3: Lightly prime with an epoxy spray primer.
Step 4: Let dry, then apply 2 to 3 more coats and let dry in between each coat.
Step 5: Sand with 400 grit sandpaper, rinse and dry.
Step 6: Then apply a topcoat using a urethane spray paint for the topcoat. Put on between two to four coats and let dry  between each coat.
Step 7: Let dry a minimum of eight hours before starting a design. After the base coat has been applied use masking tape and/or stencils to apply your club design. Before painting lightly sand the area where the design will go. Then paint area of the design.
Step 8: For maximum protection, apply a clear coat after the painting is complete.